livewall

Insight

·

5 min read

Creating an AI-powered TV commercial for Overstappen.nl

Media item 1

Introduction

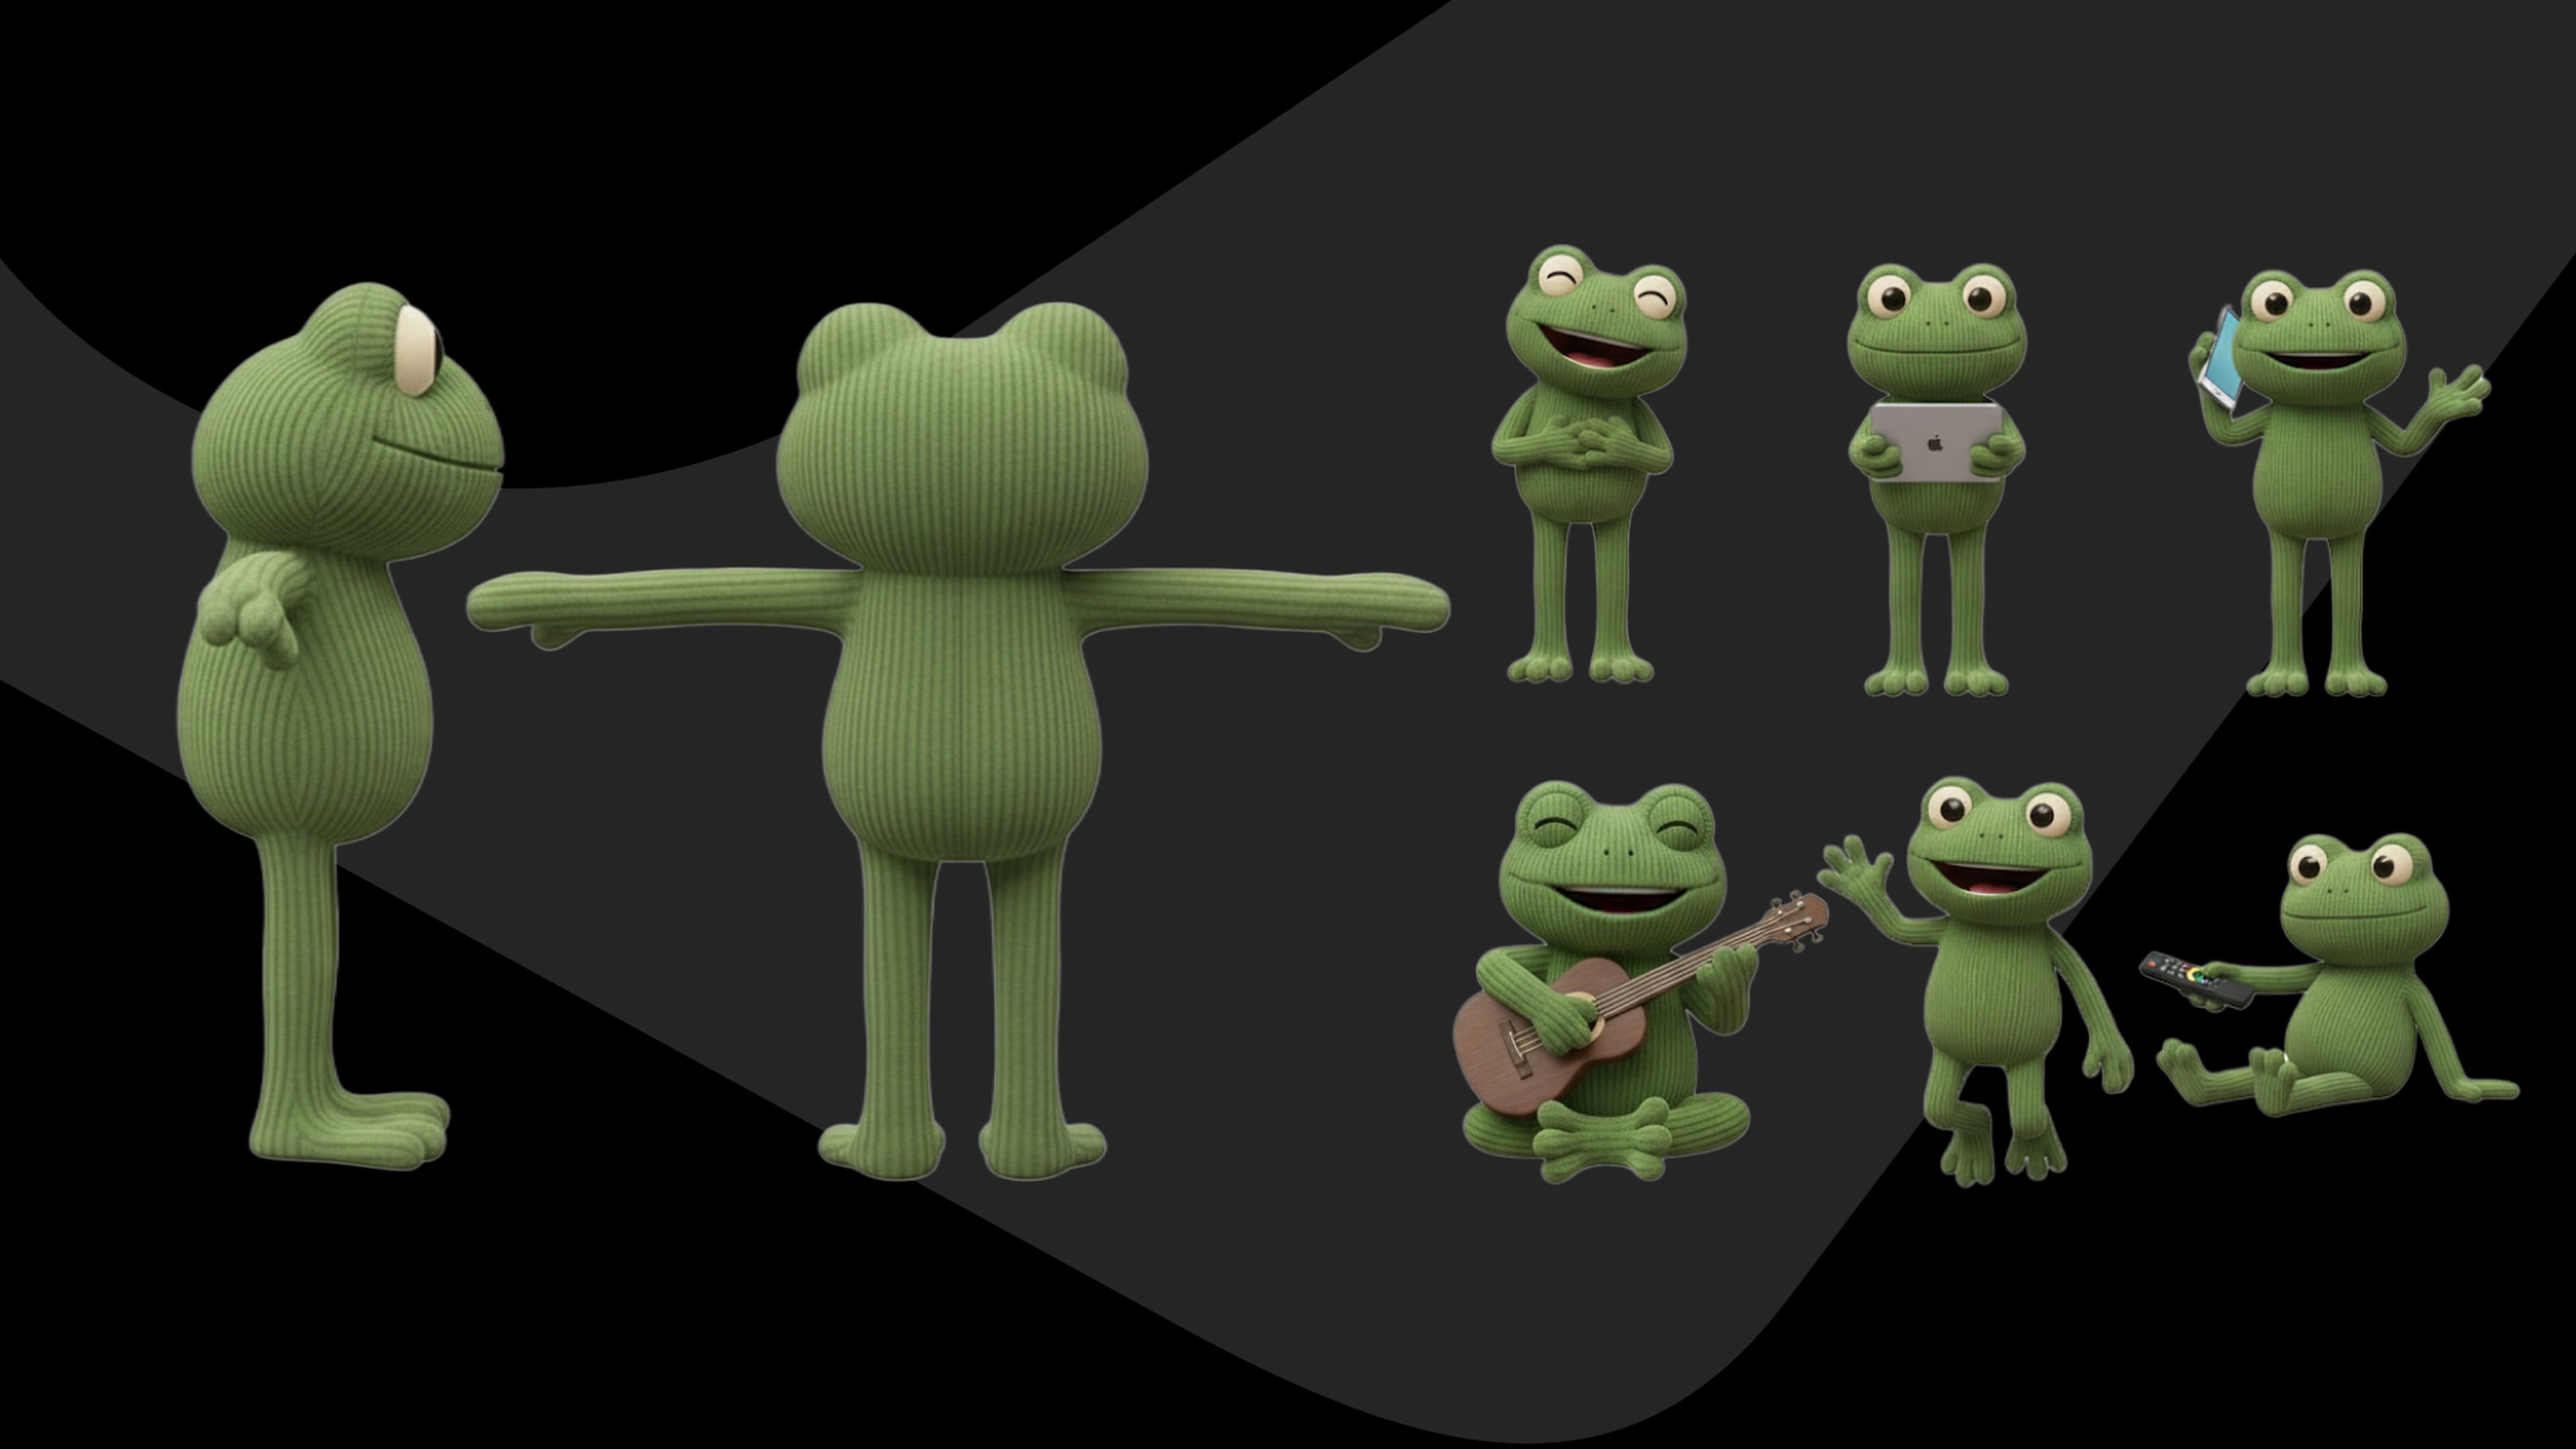
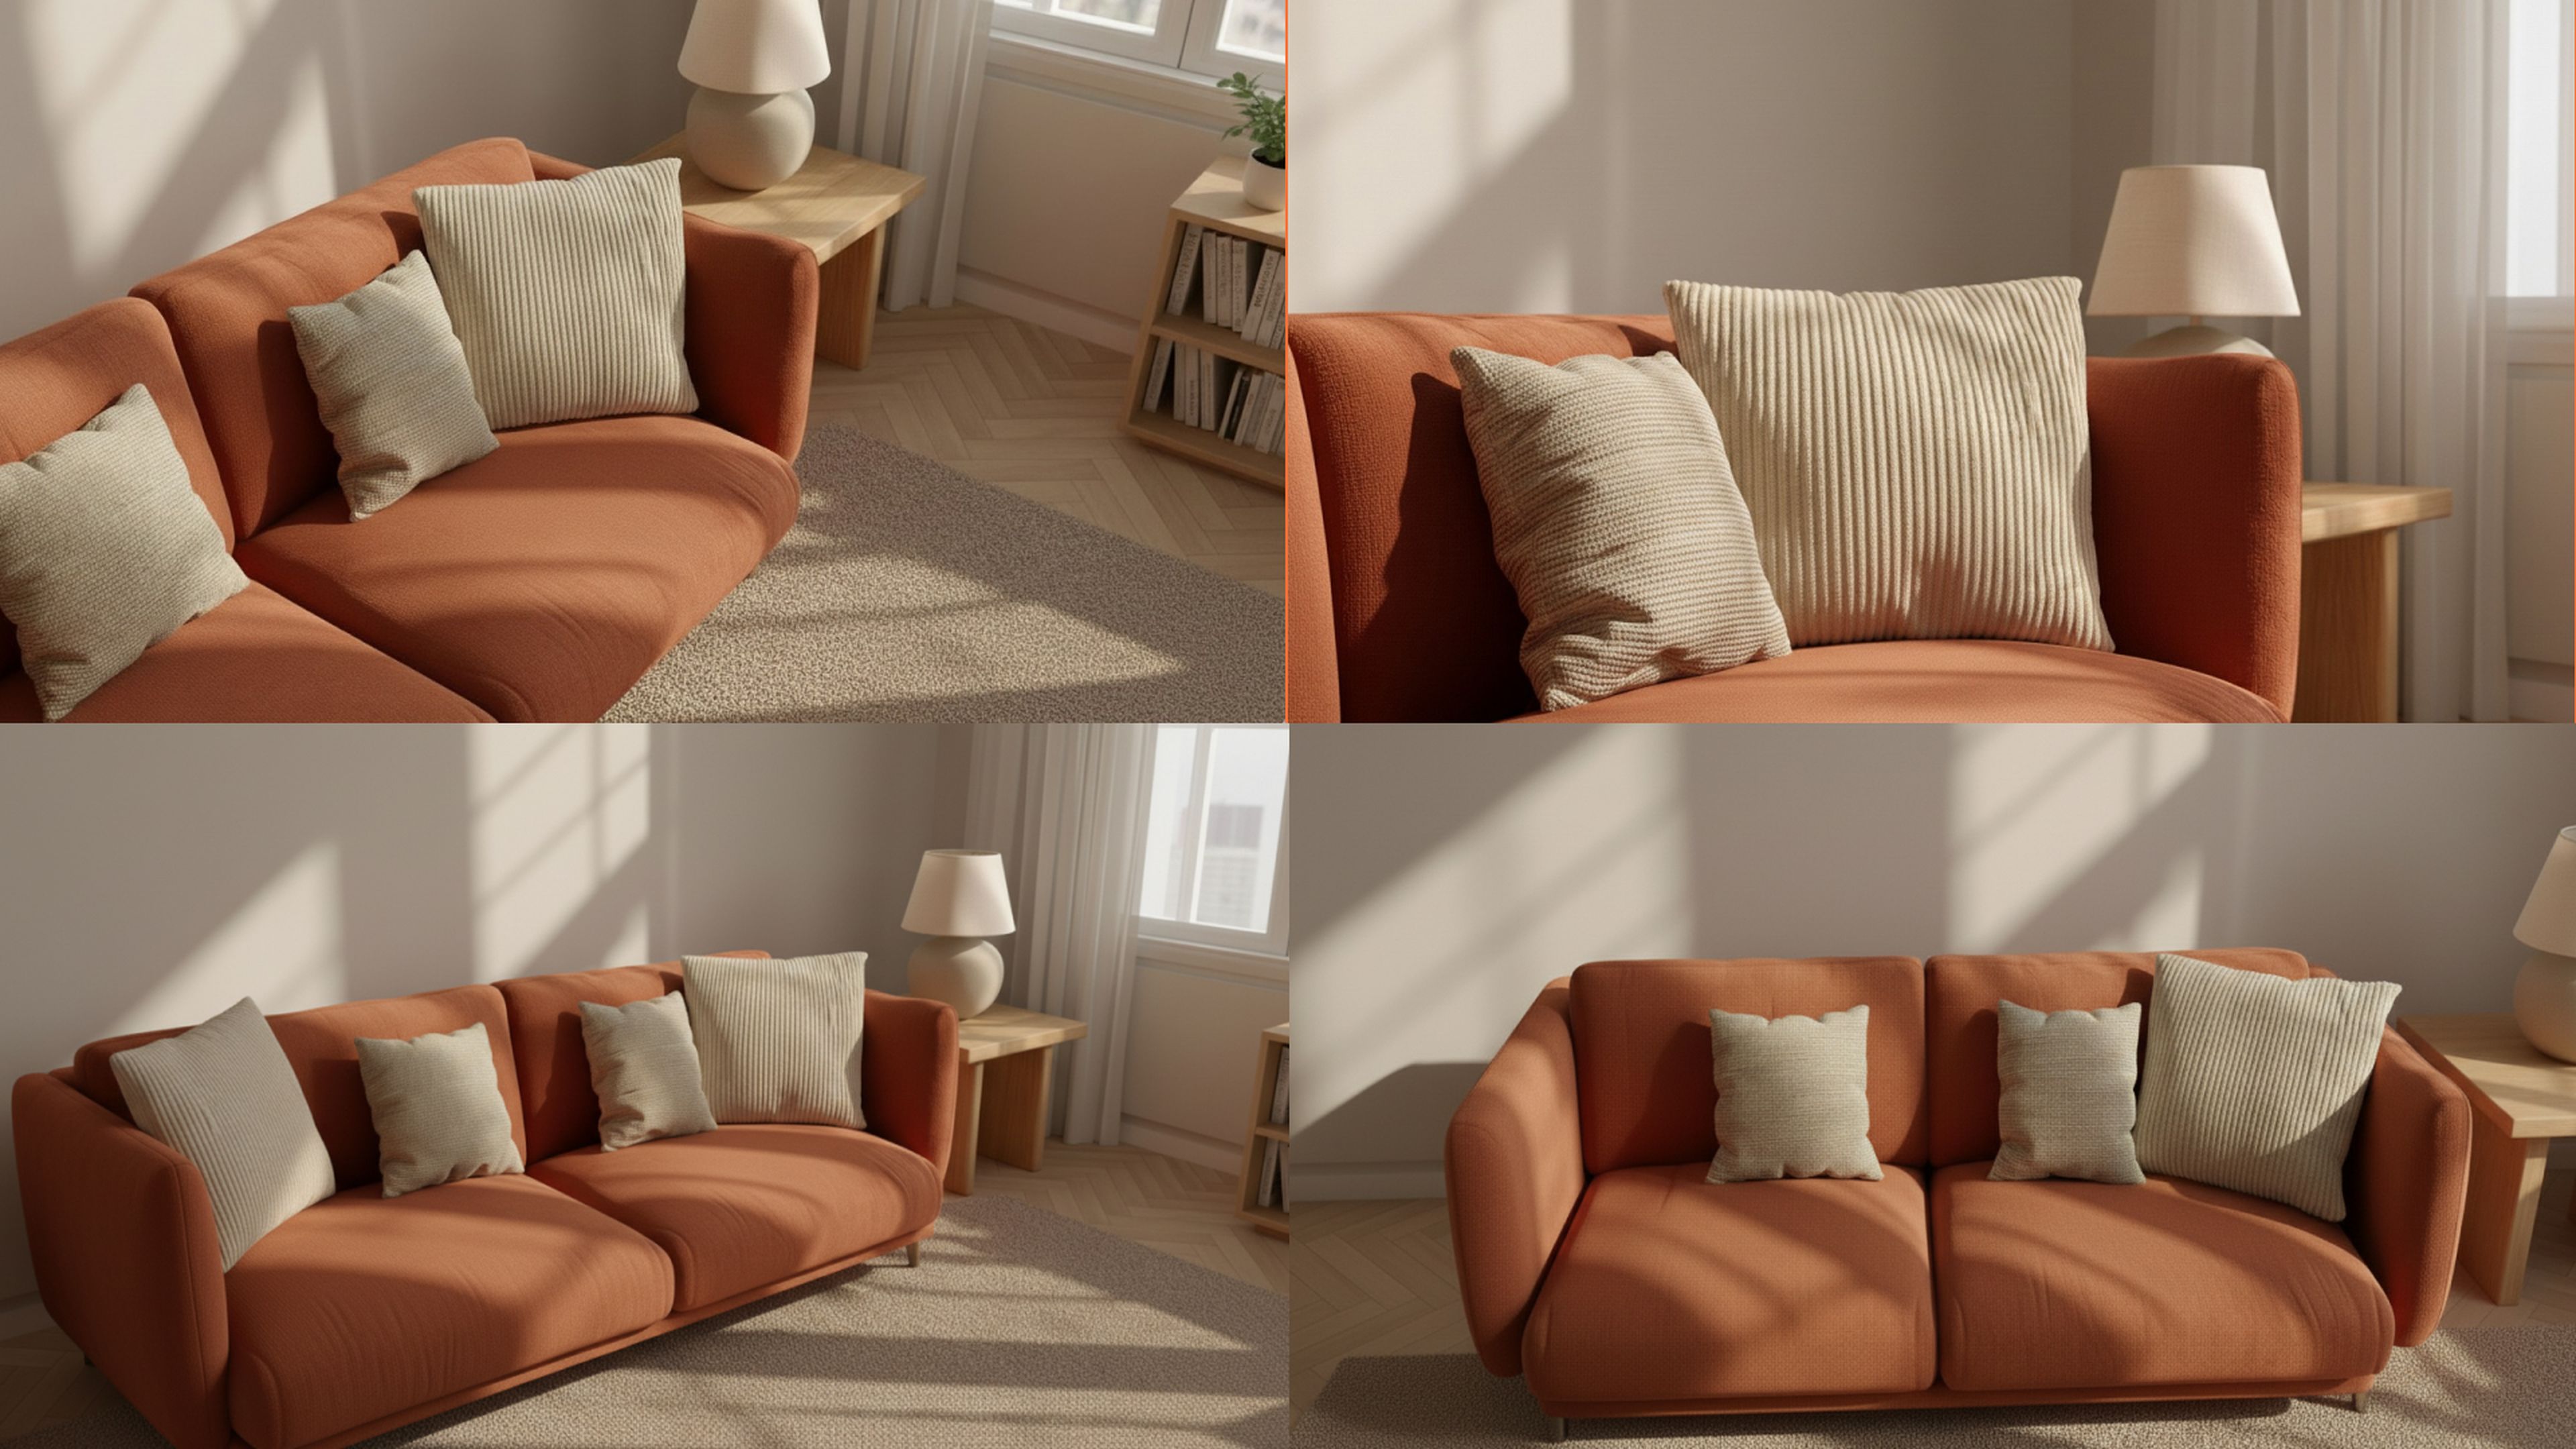
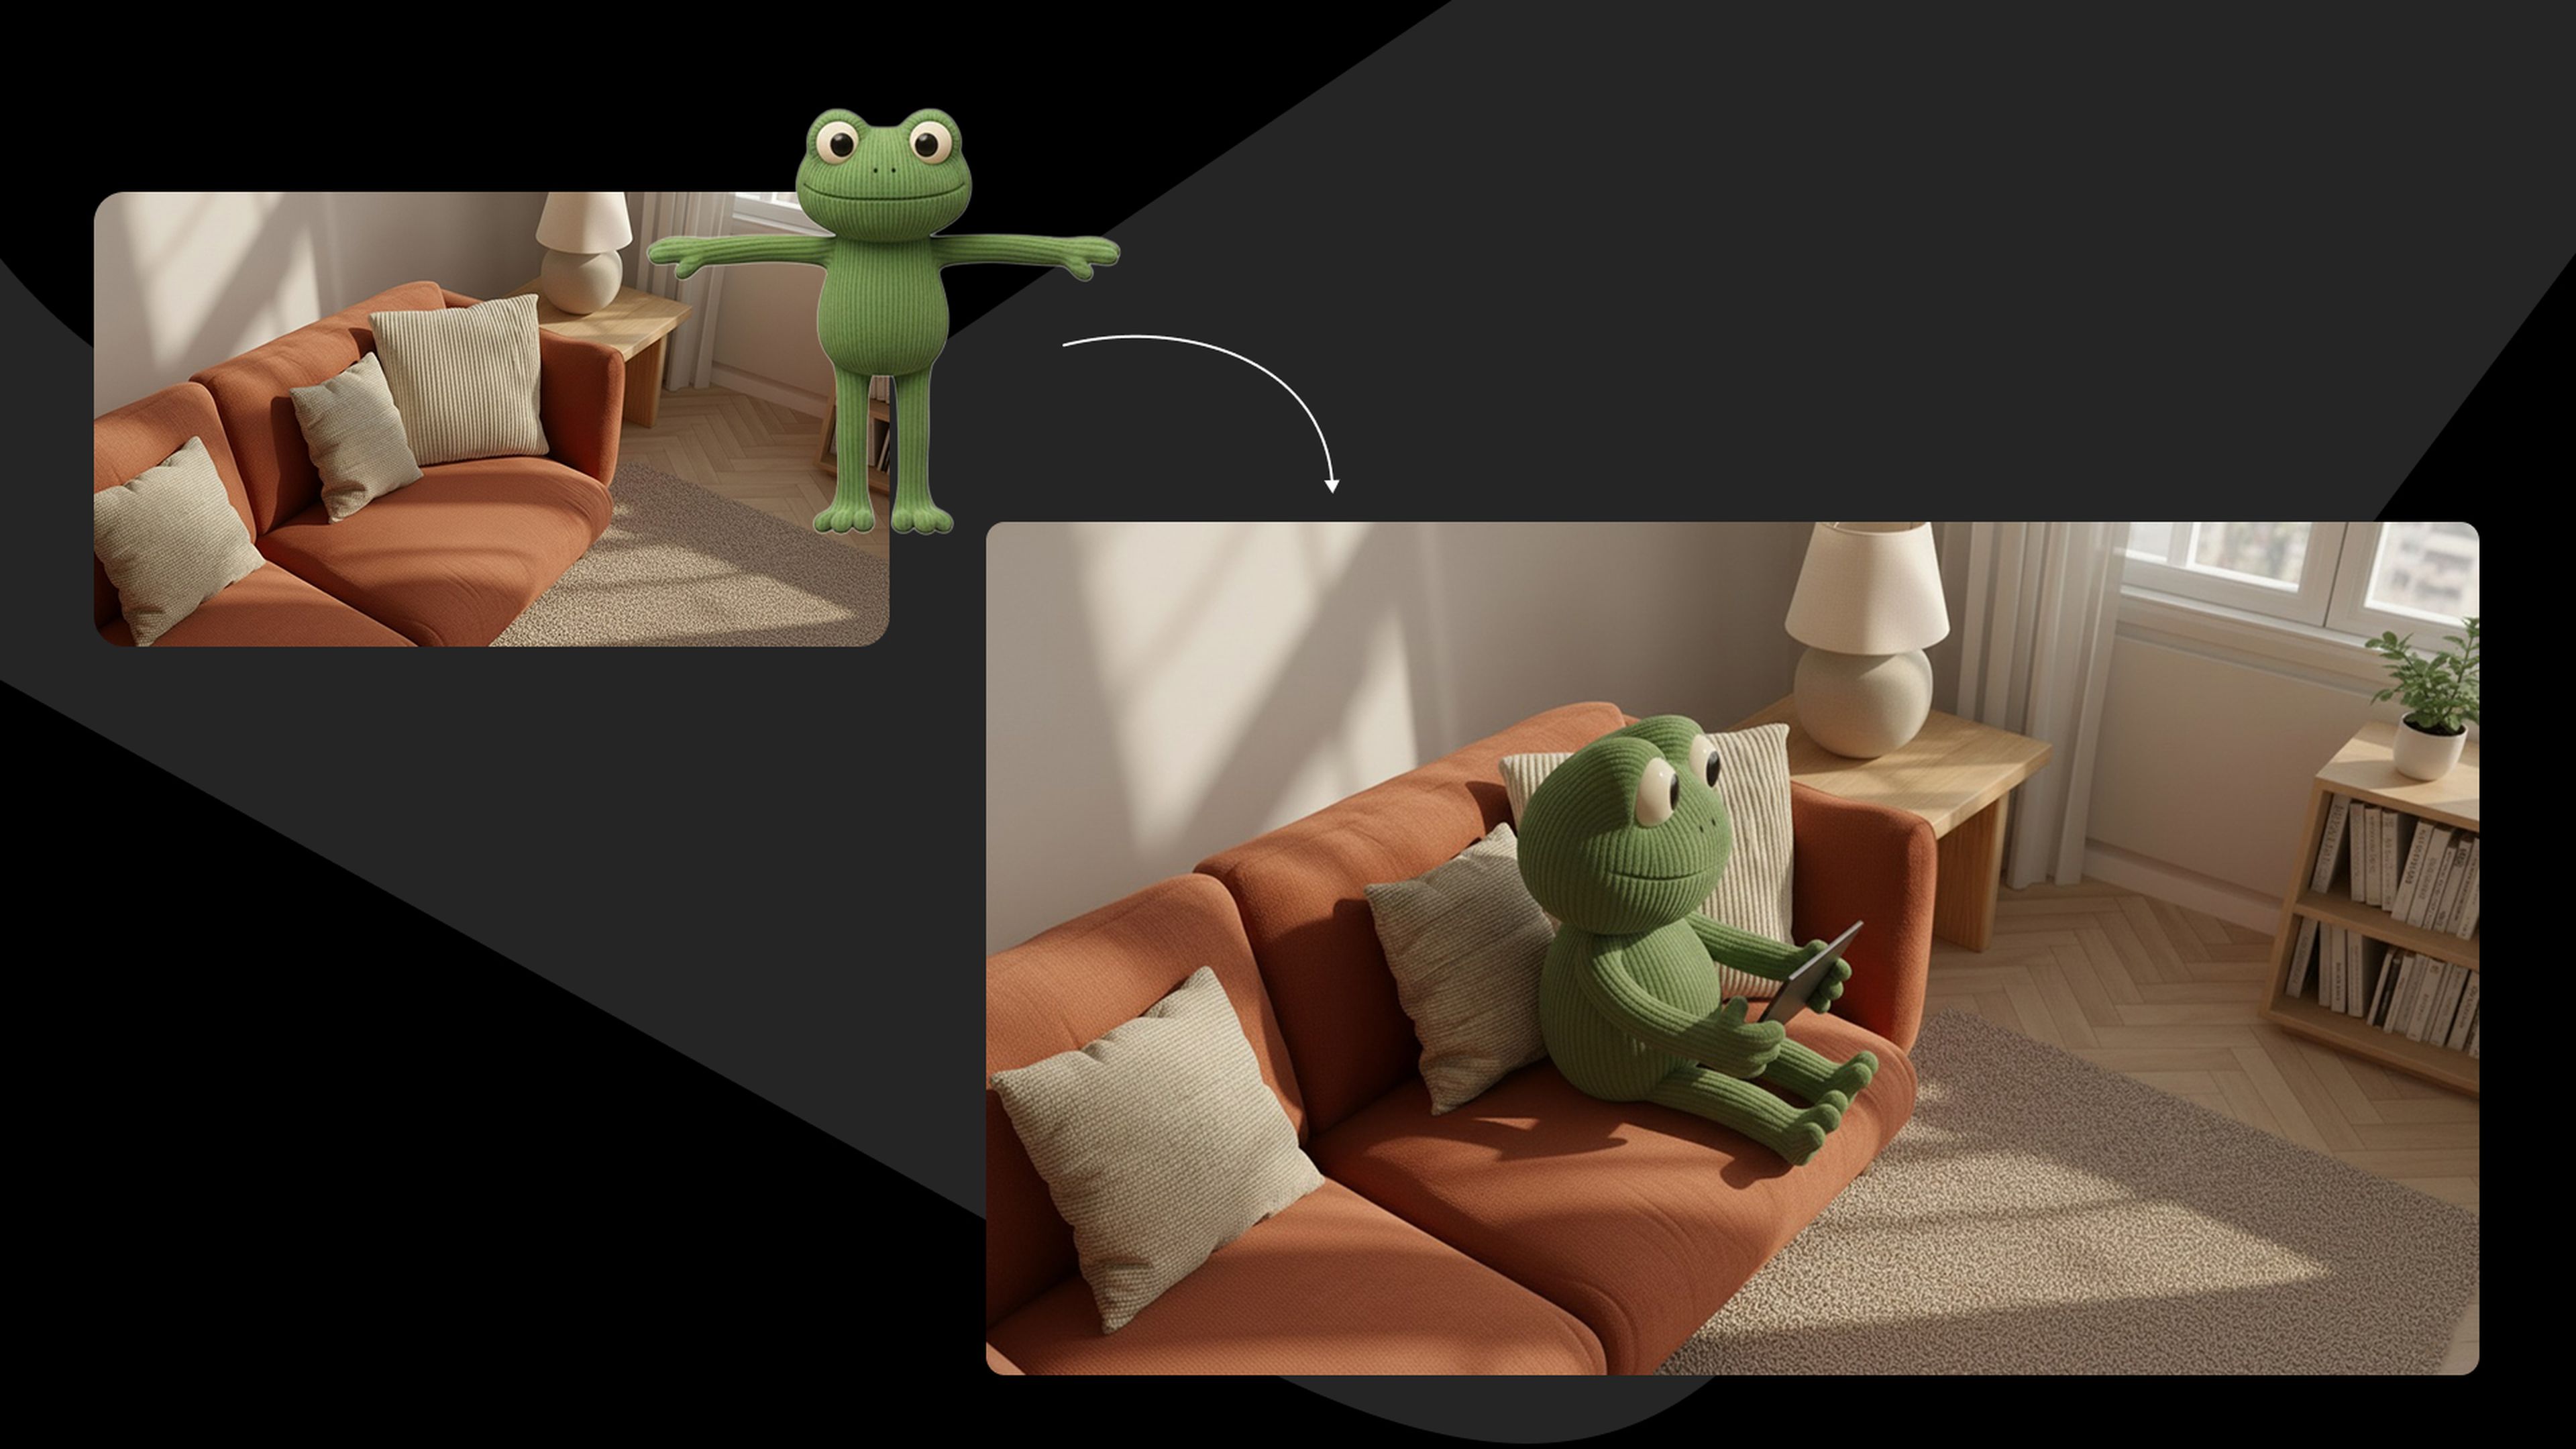
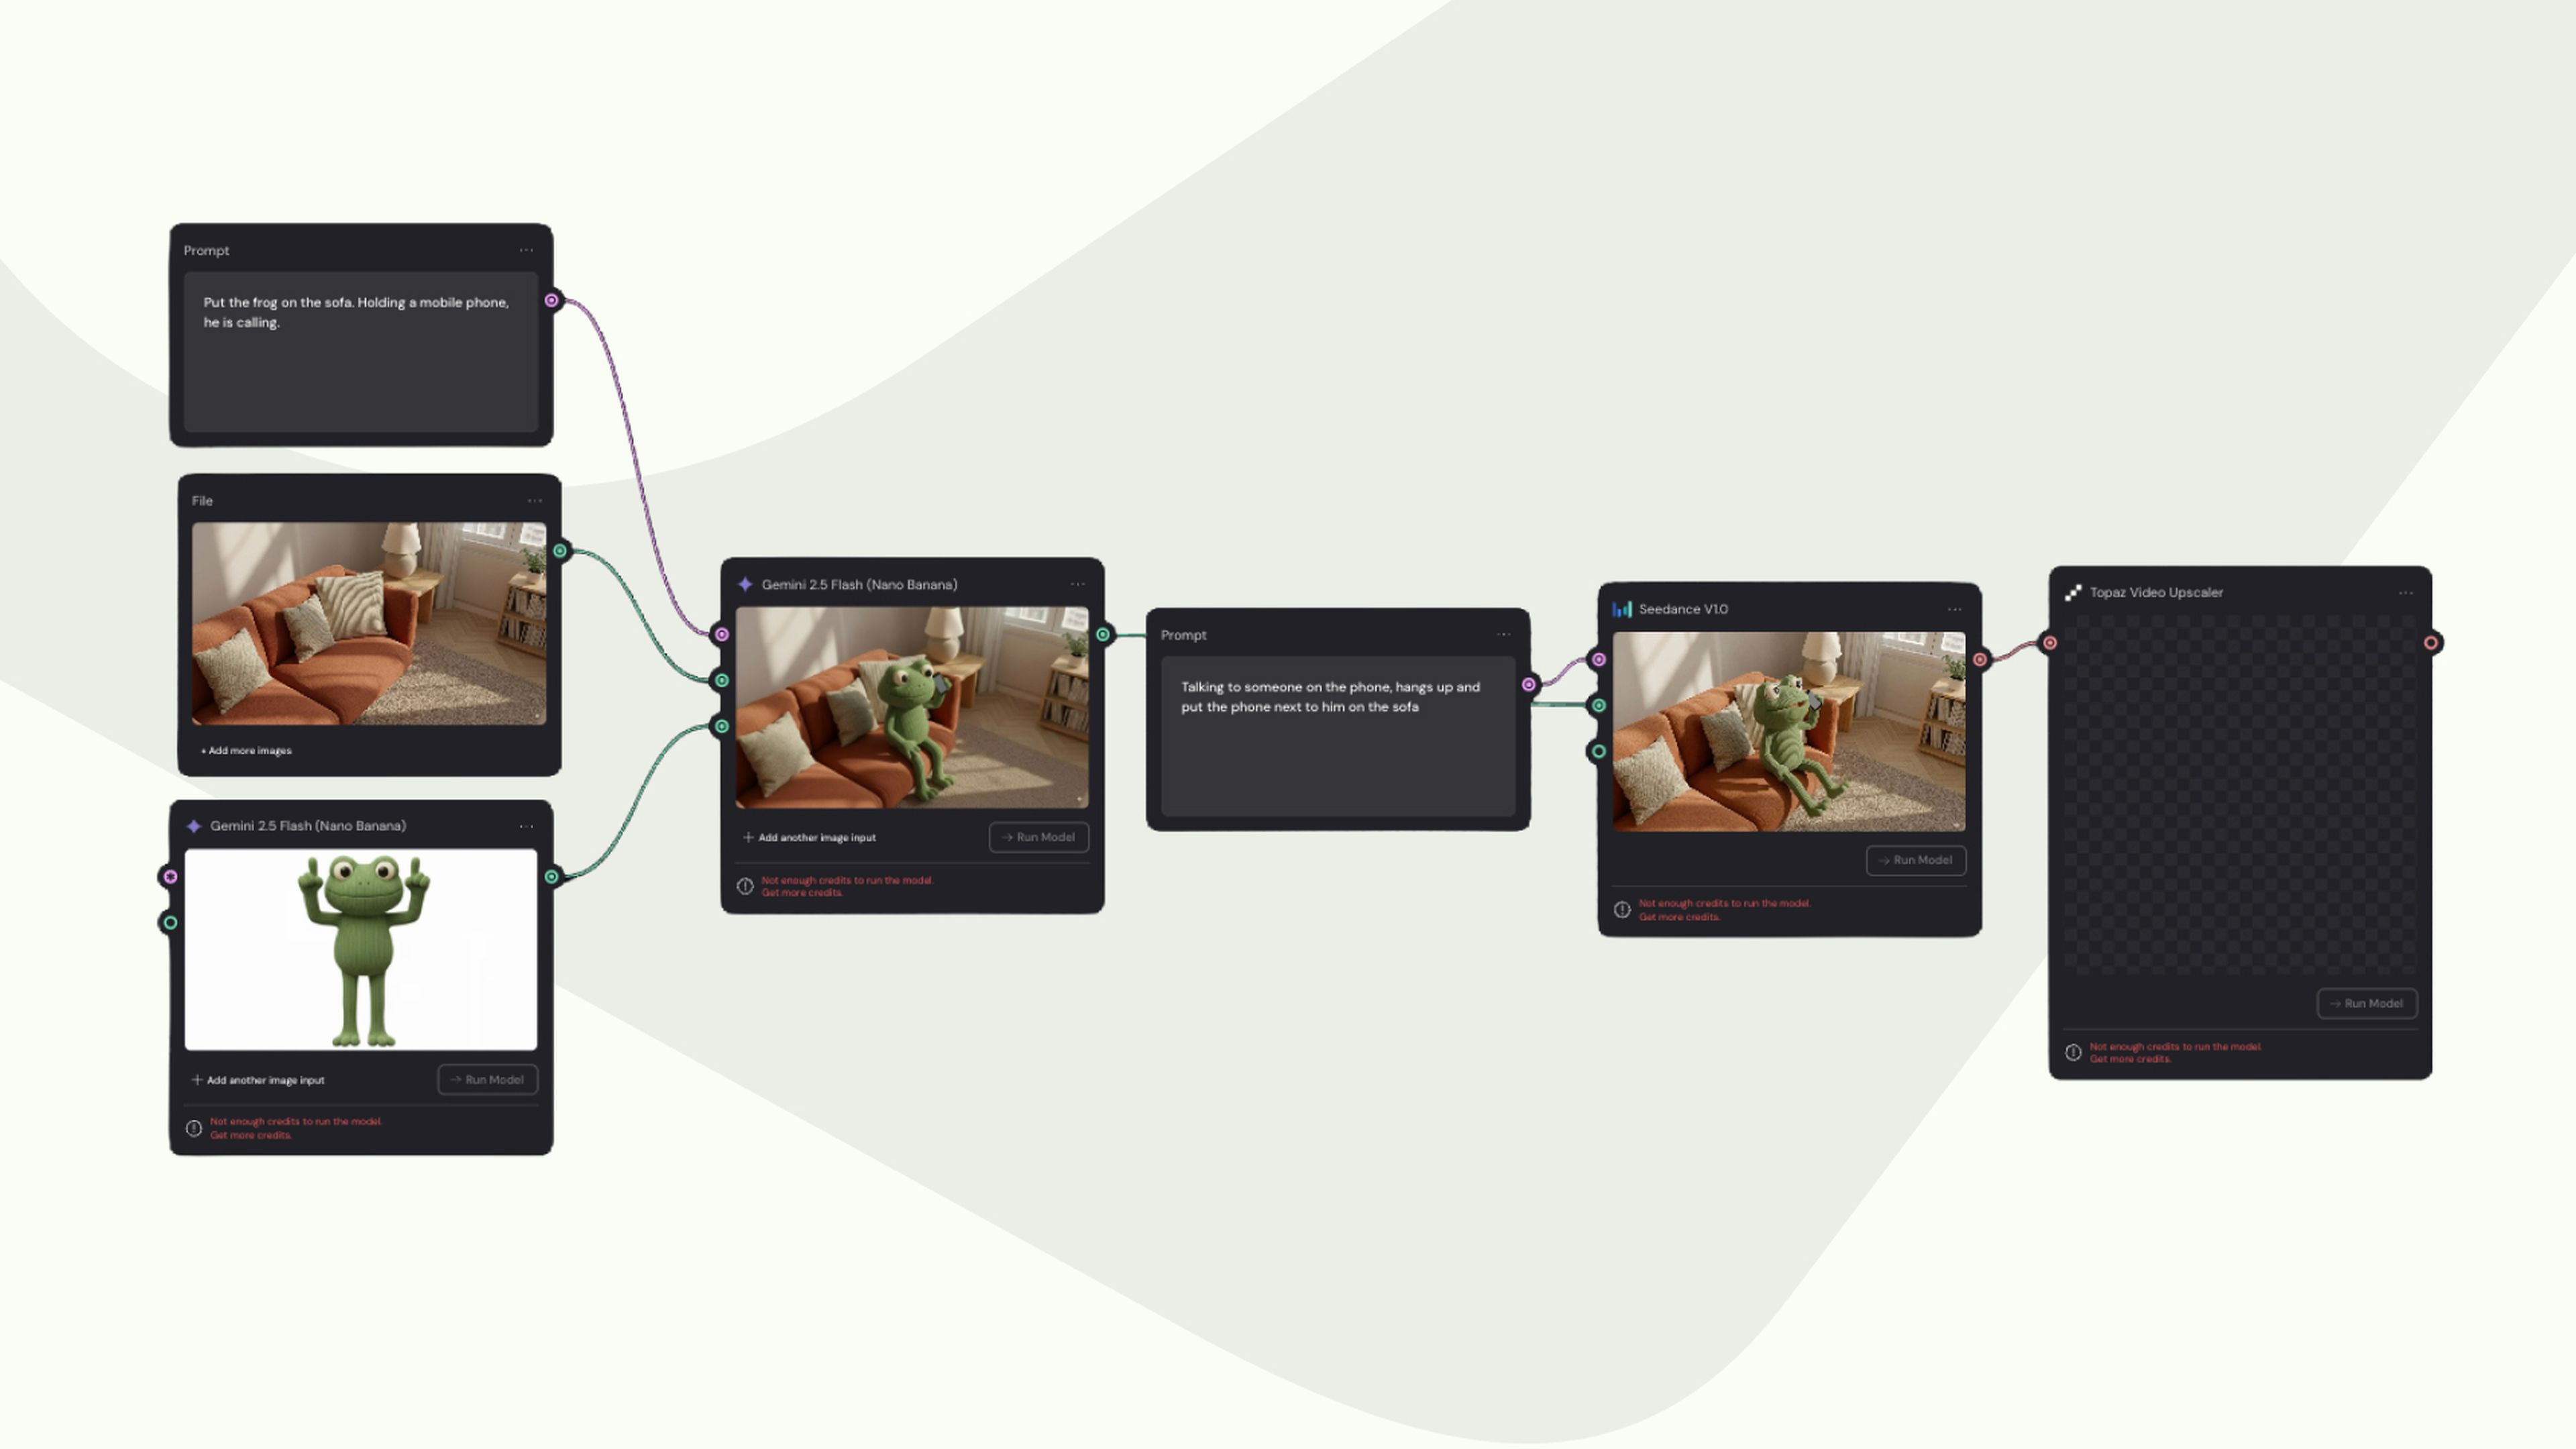
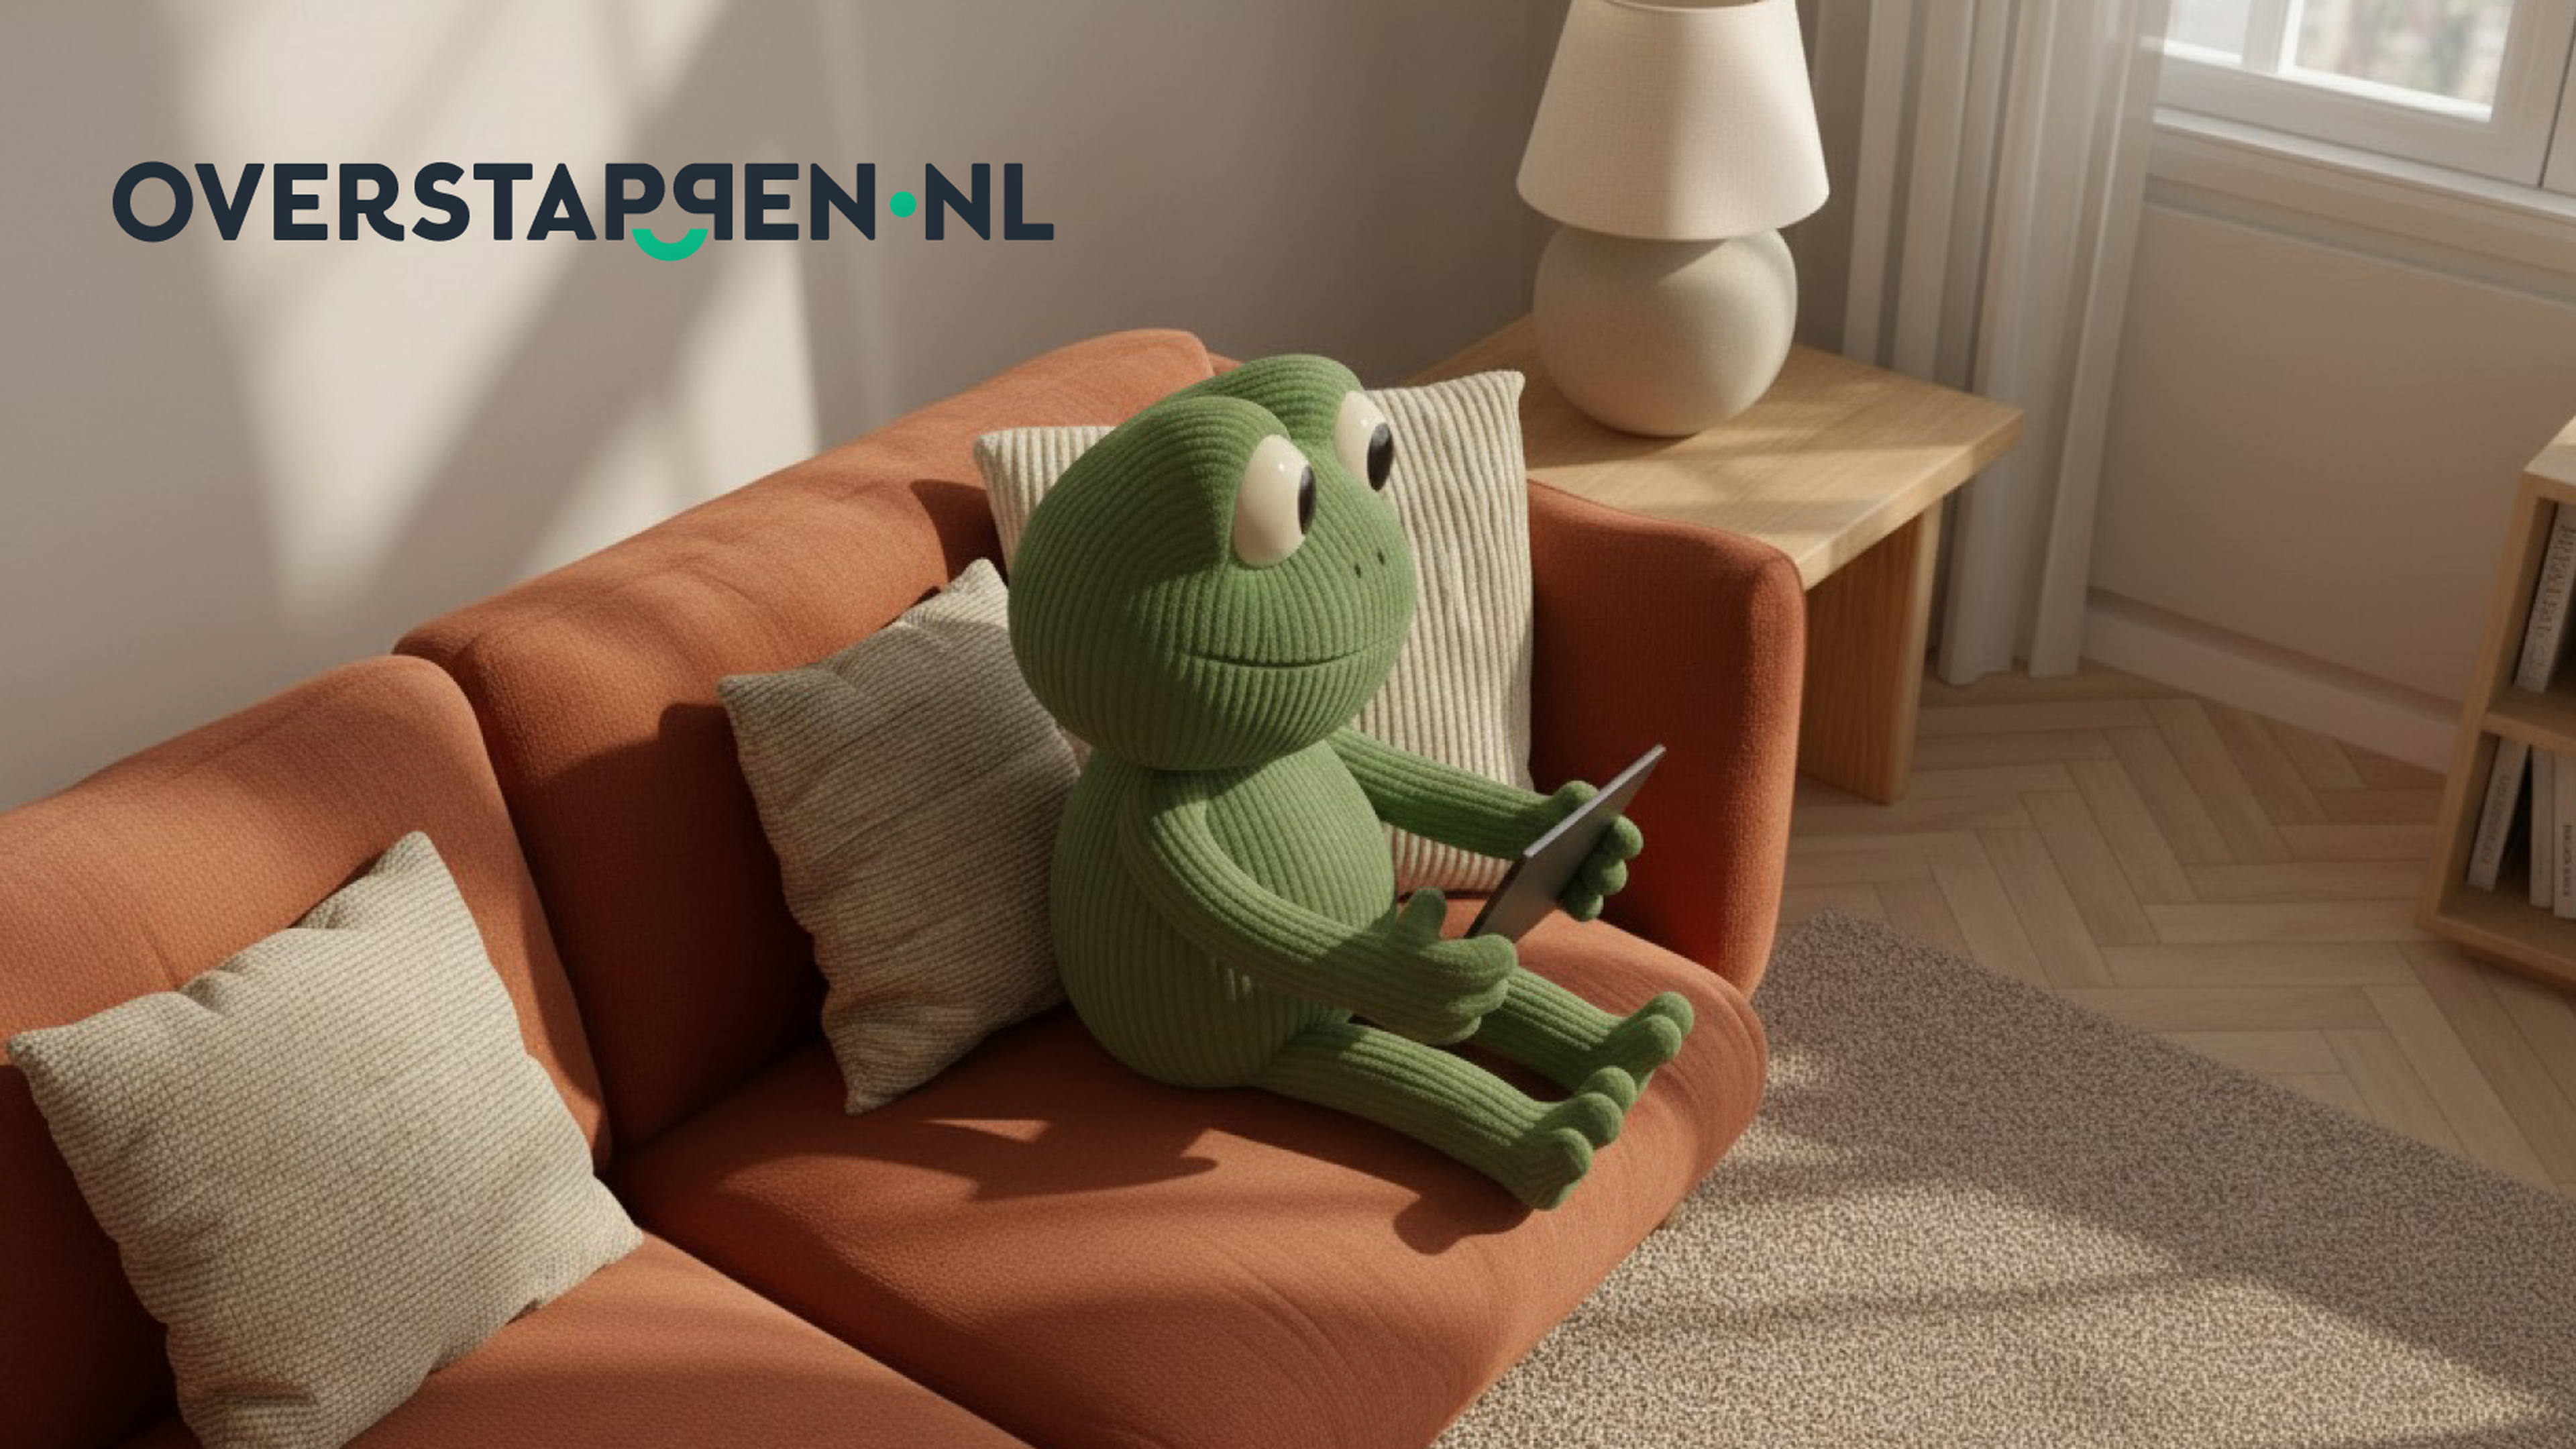
Over the past months we’ve tackled diverse AI video projects like social assets for Old Captain Rum, interactive videos for Rituals and an intro for the Lurni AI platform. But recently, we took on our most ambitious challenge yet: creating a complete campaign for Overstappen.nl including a TV commercial, digital stills, and social assets. Entirely created with AI.

The commercial went live on Dutch TV this month, and now we want to take you behind the scenes. This is the full story of our process, from initial character concept to final broadcast, including the tools we used, the obstacles we overcame, and the crucial lessons we learned.

The human touch

Before we dive in, let’s establish the most important part of this entire process: the human touch. There’s a common saying in programming that applies perfectly to AI: "Garbage In, Garbage Out." AI is a powerful tool, but it is not a magic wand. Without strong human-led strategy, curation, and constant iteration, the output will be unusable. The human element was the most critical part of every step.

Our AI production process broke down into four main phases:

Step 1

We started with the idea of a frog character. Our first attempts in ChatGPT produced images with a very distinct "ChatGPT style", a heavy yellow/orange and sepia feel. This was not the friendly, approachable brand mascot we wanted.

Our creative direction was clear: the character needed to be a friendly, approachable, corduroy stuffed animal. The main challenge would be maintaining the corduroy texture consistently across every single shot.

We tested a simple prompt like "friendly frog with corduroy texture" across a dozen AI tools, including Midjourney, Runway, Flux, and Nanobanana. The initial 50+ versions were not perfect yet. We took the best elements from that first batch.The eyes from one, the texture from another and used them as new reference images to iterate again. Eventually, we landed on our hero: "Kick." We created a full character sheet with front, back, and side views to ensure consistency.

Media item 1

Step 2

Pro-tip: Test your character in video early. A character can look perfect in a still image, but textures can fade, or limbs can behave strangely once you try to add motion. We made sure Kick worked in test videos before locking him in.

With our character ready, we needed a scene. We used Pinterest to find style references for a "warm, cozy living room" where the colors would complement our green frog.

We found an image we loved and fed it into Midjourney, using its /describe feature to analyze the key elements. This gave us a great starting prompt. The first renders had the right color scheme, we loved the terracotta sofa and the white-gray couch, but the scenes felt too chaotic.

Our feedback was to "remove a couple of elements and switch the colors." We improved the prompt to be more specific: "more minimalistic room interior with a warm terracotta sofa." This gave us our hero scene. We then took this final scene into Nanobanana to generate multiple angles we could use later.

Media item 1

Step 3

This is where the magic happens and where consistency is most at risk. We needed to place Kick into the living room. The challenge? Many tools would change the texture of the frog, alter the couch, or randomly add an extra pillow.

During this process, a new AI tool called Nanobanana was released, and it was a complete game-changer. It helped us get much closer to our final product, much faster.

To get the most out of it, we developed a "prompt engineering" workflow:

  1. We created our own custom Gem (via Google Gemini) and fed them all the documentation we could find on how Nanobanana works and how to write the best prompts for it.

  2. We gave this custom Gem our reference image of Kick and our reference image of the scene.

  3. We then simply described what we wanted: "Kick on the couch holding a tablet."

  4. Our custom GPT would then write the perfectly optimized prompt for us to use in Nanobanana.

This Gem-as-a-prompt-engineer hack became our standard process for all our tools, including Midjourney and Seedance for video. Using these stills, we built our storyboard based on the script.

Media item 1

Step 4

Animating the stills was the next hurdle. AI has its "own mind," and you can't always get what you want in a single take.

For example, our first scene required Kick to fall from the air onto the couch. Trying to generate this in one shot ("frog falling onto a couch") was impossible. The results were a mess.

We had to think outside the box and break the action into layers:

  1. First, we generated Kick jumping on a simple white background.

  2. Then, we generated a shot of Kick landing on the couch.

  3. In post-production, we masked the frog from the first shot and composited the videos to create the final, seamless scene.

This process required massive iteration. We created around 800 video renders to get the exact moments we needed.

Pro-tip: Analyze every render. A 5-second video generation might be 90% unusable, but it might contain one perfect second of animation. The final TV commercial is built from these tiny, perfect moments.

Finally, we upscaled every video clip. Most AI video tools output at 720p or 1080p. We used Topaz Labs to upscale everything to 4K for broadcast quality.

The final product

The result was a full campaign where everything was generated by AI. The visuals, the voiceover, the sound design, and the music. The only "handmade" elements were the final video edit (piecing the clips together) and the screen-recording shown on the iPad.

Our 4 key learnings from the process

  1. It's still a production process, just accelerated. AI doesn't replace the traditional production workflow (script, storyboard, feedback). It just makes the iteration cycles incredibly fast. This means you need more feedback moments and closer check-ins, not fewer.

  2. Flexibility is everything. You must be willing to adapt. If the AI is struggling to create a shot from your storyboard, you may have to go back to the scene creation step and try a new angle. Or, the AI might generate an unexpected "happy accident" that's better than your original idea.

  3. Stay curious and keep up. The AI landscape changes daily. Nanobanana came out during this project and saved us. If we hadn't been testing new tools, we might still be working on it. (As of this writing, VEO 3.1 just came out, and we're already testing it).

  4. Tool chaos is a real challenge. We used over 10 different tools. This became incredibly confusing, especially when one colleague had to take over the project from another. Where are the files? Which tool made which asset?

The future: a unified workflow

That last problem, tool chaos, is our biggest focus now. We've started using Weavy AI, a node-based platform that solves this.

Instead of jumping between 10 apps, Weavy allows us to build a visual flowchart. We can plug a prompt and reference images into a "Nanobanana" node, which then feeds its output image into a "Seedance" node for video, which then pipes the video into a "Topaz" node for upscaling.

Media item 1
this is where the fun begins.

Ready to design interactions that actually stick with your brand? Let's talk